About
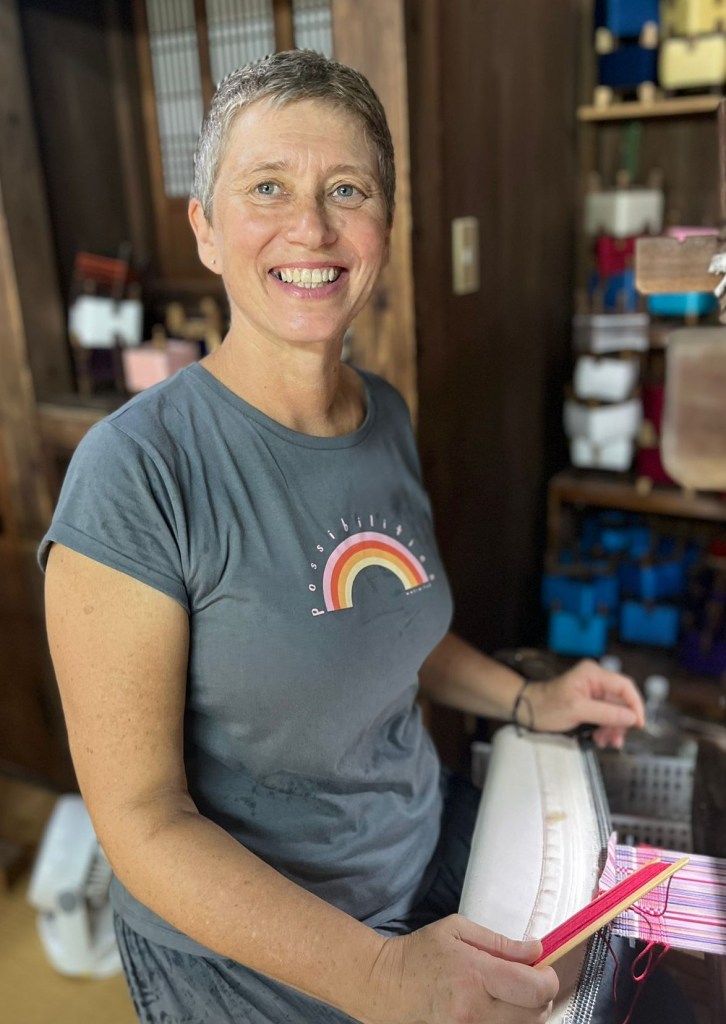
I’m passionate about the natural world, flora and fauna, and the fibres that it creates. Knitting and textiles have been a part of my life since I was a child , and over the last decade I have skilled myself in the crafts of spinning, weaving and dyeing. In 2016 I qualified from Janet Phillips’ Materclass in Weaving and in 2023 I gave up the day job to focus my time on textile design and production.
The Process
Although we all use fabric on a day to day basis and probably have an idea that fabric has a warp and a weft, not many will know the process of taking yarn and turning it into a piece of fabric. What follows is a quick guide to the process involved so that you can learn how my fabrics are made. I hope you enjoy
1 – Design
In this step I think about the fabric and it’s intended use, as that can suggest a weave structure and the sett of the fabric (how loose or tightly woven the fabric will be). During this phase techniques such as card-winds and sampling help to shape the final piece. Card winds allow me to pit colours together, swapping in and out different colours to find the right combination. Sampling requires the set up and use of a table loom, perhaps a couple of times or more before I find the right combinations of colour, sett and design. With the samples I always was as this can significantly change the appearance of the finished cloth and it also allows me to calculate the shrinkage which can be up to 20%.
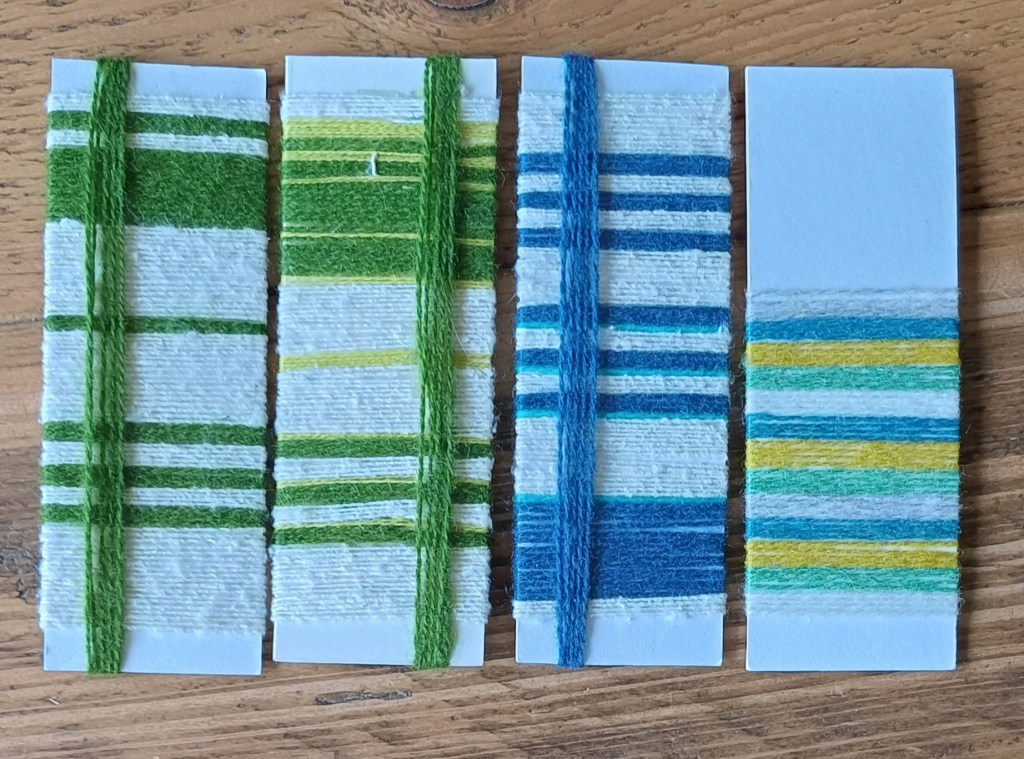
Inspiration comes from all areas, nature, a picture or even a random thought. Sometimes I create a mood board to help me visualise, other times it’s just simple notes. The outcome of this step is clarity on the weave structure, the sett, the colour, pattern and quantity of yarns required.
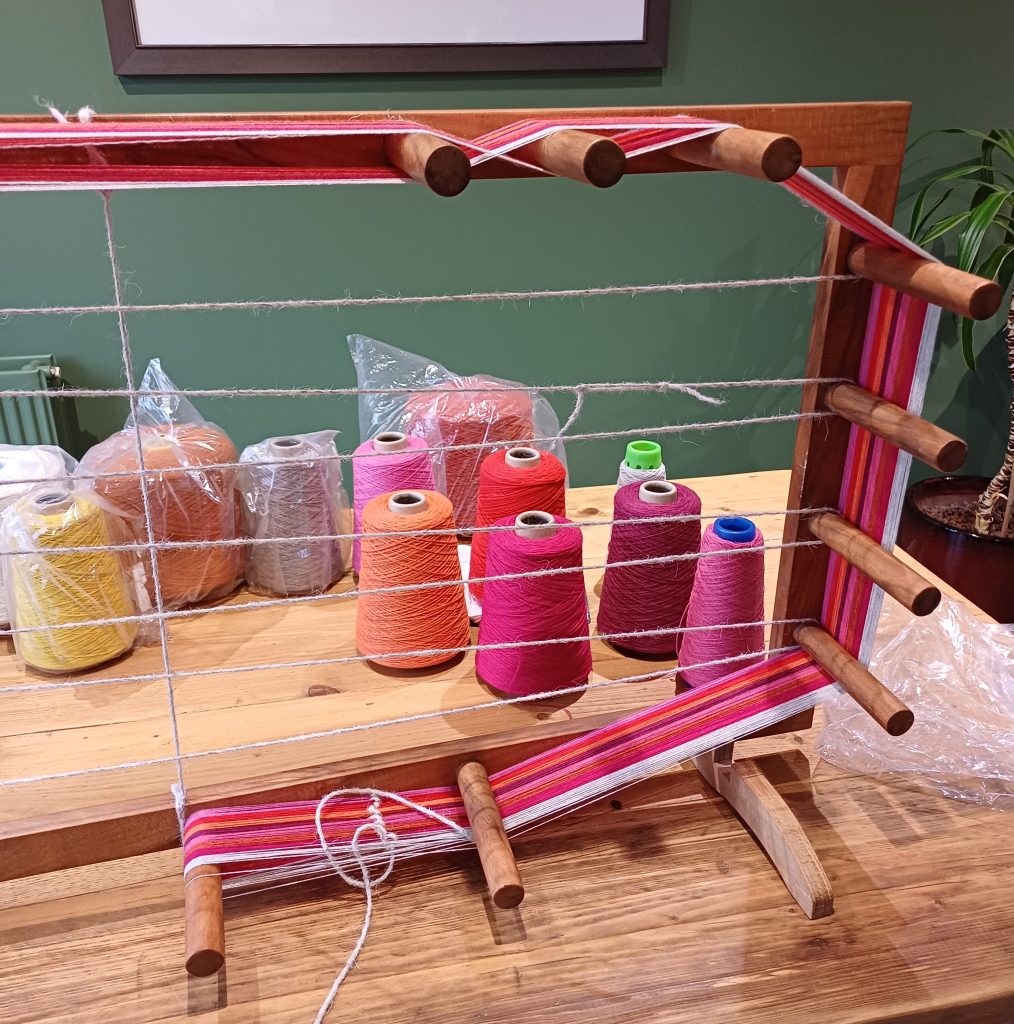
2 – Wind a Warp
Having completed the design, I know the type of yarn, the number of warp threads and their length and I’m ready to start winding the warp. I do this using a warping frame where I hand wind each thread on the frame in the correct colour order for the pattern I’m weaving.
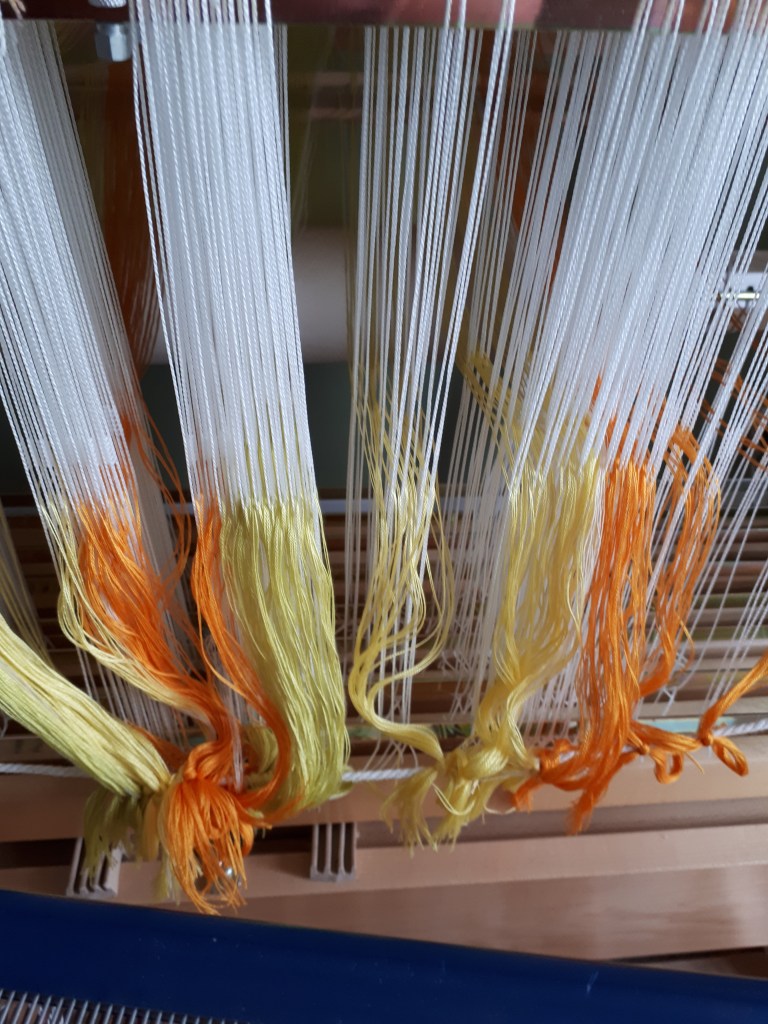
3 – Dressing the Loom
I can now put the warp on the loom, called ‘dressing the loom’. I start by winding the warp onto the back beam, this can be easier with a helping hand, especially if I have a 14 metre warp. Once wound I need to thread each end of yarn through a heddle, these are used to lift the threads in a specific order dictated by my design. The ends are then threaded through a reed, this is what dictates the sett of the fabric and can be of varying sizes.
I generally use one with 10 or 12 slots per inch and can double up threads in each slot to change my threads per inch (sett).
Once threaded it can be tied onto the front beam. I then weave an inch or two to check the sett and the threading are all good.
I usually try to wind enough warp to weave several scarves at one time as dressing the loom is a very time intensive step in the process.
4 – Weaving
This is now the back and forth with a shuttle or two loaded with yarn. The weave is created by lifting different shafts using foot pedals. A lifted shaft raises some threads and opens space for the shuttle to pass through with the thread (the weft).
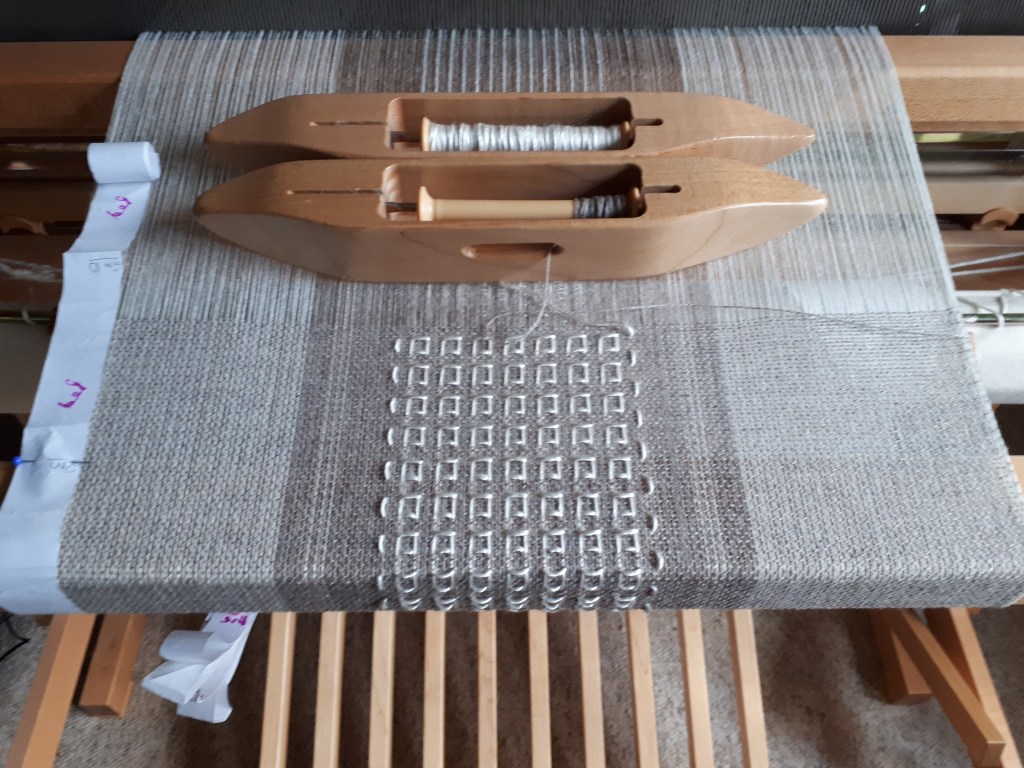
The repeated back and forth of the shuttle and the lifting and lowering of different shafts create the weave structure of the fabric.
As I weave I need to be mindful of the pattern, colour changes and repeats of the weft so I can weave the fabric to match the design. Whilst weaving I also need to ensure the sett is correct which means checking the threads per inch on the weft at regular intervals. Weaving one of my standard woollen scarves takes around 3 hours.
Head, hand, eye and foot co-ordination are all needed to make smooth and quick progress. Once I’ve woven the last weft the fabric is ready to be cut off the loom.
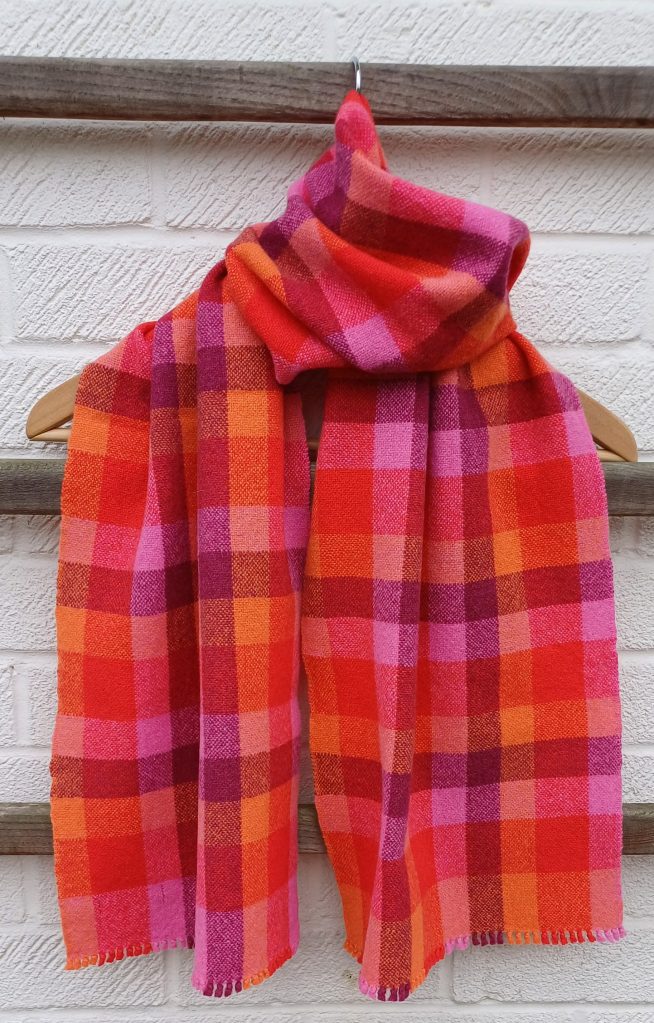
5 – Finishing
Once the fabric is off the loom I can finish the ends either by trimming, twisting or tying depending on the design and end use. I will review the fabric for any missed or skipped threads and fix these before washing and pressing. If this is a scarf I’ll just attach a label and it’s complete, for other items they need to be further processed into pouches, cushions or lampshades.
I hope you found this interesting and have a better understanding of the weaving process. If you have any questions feel free to ask.
